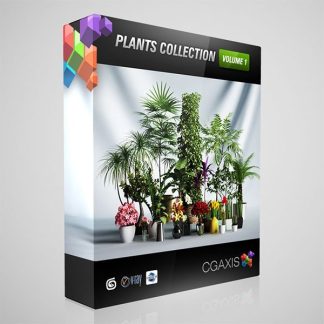
 CGAXIS MODELS VOLUME 1 PLANTS
  Jonathan 8 Pro Bundle(DAZ Studio Format 3D Model)
  Plants 3D-Models Collection
 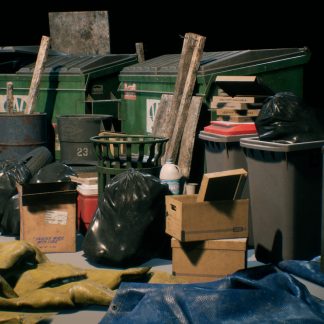 ARTSTATION – CITY TRASH AND WASTE PROP SET – (UE4)
 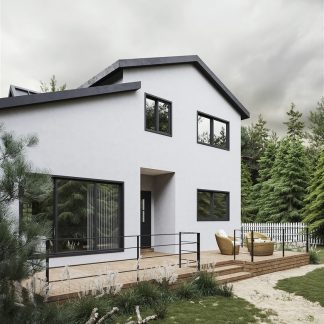 Realistic villa 3D model Corona scene
 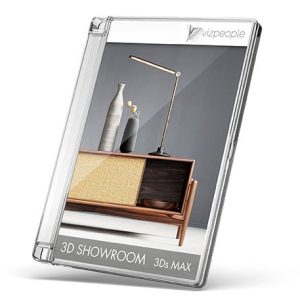 Viz-People – 3D Showroom for 3DsMAX
  VRay 3ds Max Interior Rendering
 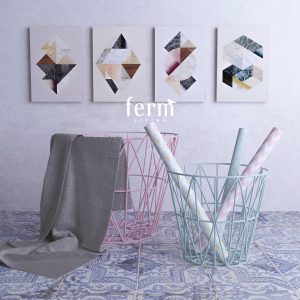 ferm_LIVING_basket
  Learn archviz visualization, Blender beginner course 2021
  UNREAL ENGINE – SCI FI ROBOT V4.18-4.25
  Flower Home Decor 3D Model
  V-Ray 5 for 3ds Max Essential Training
Description
DURATION: 1h 30
DIFFICULTY: Intermediate
In this step by step video tutorial, I am walking you through my usual marvelous designer workflow to produce a combat pouch for characters or even as a standalone prop.
I am covering topics such as construction of MD patterns, managing shapes with fold angles and adding extra realistic details such as stitching and trims.
The mesh is then taken into Zbrush where I am sharing how I handle thickness, adjust the silhouette and add a buckle in order to take the realism to the next level.
Hopefully by the end of the tutorial you will know the methodology to construct pouches of a range of designs from scratch to add complexity to your own 3d Characters.
CONTENTS
MD Project File
Reference Image
Zbrush File
7 Chapters
1. Blocking out the Base
2. Blocking out the Top
3. Adjusting the Fitting
4. Adding Trims
5. Creating Straps
6. Adding Stitches
7. Exporting To Zbrush
Please note that it’s assumed that the user knows the basics of UI and navigation in both Marvelous Designer and Zbrush
If you’re a complete beginner in Marvelous Designer, I recommend to start with this tutorial: