Description
1. All the resources of this site are collected by members from the Internet. If there is any infringement, please contact this site in time!
2. If the download link is invalid, please contact us and it will be repaired in the first time.
3. The materials downloaded by the members on this site only have the right to use, and the copyright belongs to the original author and the design network.
4. Without legal authorization, the member shall not publish, distribute, copy or resell the work in any form.
5. This asset is for learning purposes only, if necessary, please purchase genuine.
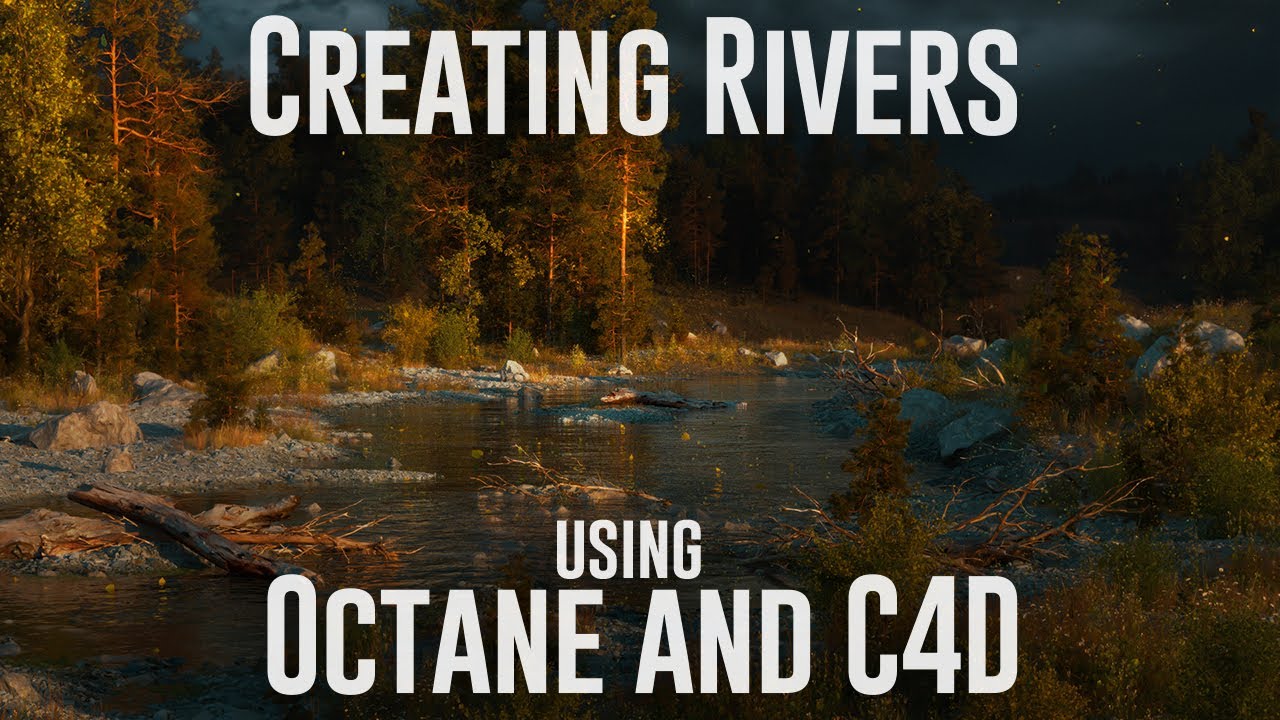
In this tutorial we cover how to make a realistic river scene using Octane for C4D(though any software(Blender,Maya,etc) would work!). We go through establishing our base river scene, then go through the process of creating a wet looking river bed and a realistic water shader. then we go through the process of bringing the scene together by creating scatter systems for falling leaves, and leaves built up along the rocks and logs along the river. We then finish the scene with adding some fog to create depth and adjust some lighting to make a pleasing scene. After we get our final renders and Depth passes we then go into photoshop and polish up the scene to a final finished piece!
